Recently, I was at the beauty salon. As I sat under the hair dryer, flipping through pages of some fashion magazine, something in particular caught my eye: the cost of an "orange scented" perfume. The magazine listed the cost as $225.00.
I don't remember the brand, but that price is outrageous! Why pay so much money for a fragrance? There's toxic ingredients in many perfumes, anyhow. According to the Environmental Working Group, many fragrances contain ingredients "that studies show may be linked to a variety of health problems, including allergies, skin reactions, endocrine/hormone disruption, and possibly even birth defects. Companies are not required to test cosmetics for safety before they are sold." Some of the bad stuff found in fragrances include phthalates, and artificial musks.
So, before you fork out a lot of money for something with potentially toxic ingredients, consider looking into making your own perfume using essential oils. I buy most of my essential oils from The Ananda Apothecary (excellent, high quality essential oils at a great price), and Portland's The Essential Oil Company (producing quality and pure oils since 1977). Essential oils --extracted from plants and plant materials -- are used medically in hospitals as well as in aromatherapy, but I also use them to make lip balms, lotions, and hand salves. Essential oils are therapeutic, and are known to have powerful healing benefits. Some essential oils (such as Rosa damascena) can be expensive, but the organic and quality oils are the best, and worth every penny.
It's important to dilute the essential oils with other ingredients, such as vodka (if making a perfume), carrier oils, water, etc. Making my own fragrances has become quite the hobby; I enjoy inventing recipes while using raw and natural ingredients (such as cleaned organic orange peels).
(If you decide to try this, however, do so at your own risk: Some people experience allergic reactions to essential oils and even essential oil perfumes, so it's a good idea to be cautious, and not give them to other people as gifts. Never use essential oils while pregnant, and don't apply essential oils directly to the skin. Always be careful when using a mixture for the first time. Some types, such as Bergamot, can provoke a reaction even when diluted. Research the subject well before diving into it - it's a lot of fun to read about!)
For a basic start to the subject, check out:
The Essential Oils Book: Creating Personal Blends for Mind and Body by Colleen Dodt
The Complete Book of Essential Oils and Aromatherapy, by Valerie Ann Worwood.
Sunday, December 18, 2011
Sunday, October 16, 2011
Literary Cooking
Reminiscing on the books read from childhood, I wonder about the foods mentioned in them. I know there's Monday mornings when I could use some rejuvenating Lembas bread, but did you ever wonder if you could handle eating an entire chocolate cake, as ordered by Ms. Trunchbull in Matilda? While reading Anne of Green Gables, did you ever wonder what the heck Anne Shirley thought she was giving her bosom buddy Diana Barry, who ended up drunk because she was really drinking currant wine? Or, from The Lion, the Witch, and the Wardrobe, did you imagine Turkish Delight to be like ambrosia, since Edmund sold his fam out for it?

Well, thanks to a cute book titled Turkish Delight & Treasure Hunts: Delightful Treats and Games from Classic Children's Books, you can make some of these interesting creations yourself! I stumbled upon a blog post written by Emily and Katie mentioning the book and these foods from fiction, and I was so intrigued by their post that I bought the book myself (sure, you can find the recipes via Google, but I love me some unusual cookbooks!).
I have to admit: Turkish Delight -- the real thing -- isn't how I imagined it. It looks like Aplets and Cotlets, which I'm not a fan of. The real stuff from Turkey is supposed to be sheer Elysium. According to recipes I've seen, its main contents include rosewater, cornstarch, foodcoloring, and sugar. Going by looks alone, it doesn't seem very appealing, but I'm going to make some, anyway. Apparently you can dip them in chocolate, too, and well, chocolate makes everything better.
Making foods from fiction is a charming idea; of course, the bread and jam that Frances would only eat is a no brainer, and Stone Soup would be tasty... minus the stones, that is. There is also an awesome Trunchbull Chocolate Cake recipe found on the World Wide Web! I do hope that one would pass on the Green Eggs and Ham, though. Ick.
For reference, check out the cookbooks:
Turkish Delight & Treasure Hunts: Delightful Treats and Games from Classic Children's Books by Jane Brocket
Roald Dahl’s Revolting Recipes by Roald Dahl, Felicity Dahl, and Josie Fison (many recipes in this book do not seem...appetizing)
The Anne of Green Gables Cookbook by Kate MacDonald
Legolas about to om-nom Lembas bread.
Well, thanks to a cute book titled Turkish Delight & Treasure Hunts: Delightful Treats and Games from Classic Children's Books, you can make some of these interesting creations yourself! I stumbled upon a blog post written by Emily and Katie mentioning the book and these foods from fiction, and I was so intrigued by their post that I bought the book myself (sure, you can find the recipes via Google, but I love me some unusual cookbooks!).
Making foods from fiction is a charming idea; of course, the bread and jam that Frances would only eat is a no brainer, and Stone Soup would be tasty... minus the stones, that is. There is also an awesome Trunchbull Chocolate Cake recipe found on the World Wide Web! I do hope that one would pass on the Green Eggs and Ham, though. Ick.
For reference, check out the cookbooks:
Turkish Delight & Treasure Hunts: Delightful Treats and Games from Classic Children's Books by Jane Brocket
Roald Dahl’s Revolting Recipes by Roald Dahl, Felicity Dahl, and Josie Fison (many recipes in this book do not seem...appetizing)
The Anne of Green Gables Cookbook by Kate MacDonald
Sunday, September 18, 2011
Phantasy Star
Confession time: I'm obsessed with video games. As with reading, artwork, and cooking, gaming is a form of delightful escapism. I especially have a love for retro video games, although I will drink the Halo kool-aid, too (because, let's face it, Halo is awesome).
Anyway, a little backstory: 1989 was a memorable year in particular because of the discovery of Sega's epic video game -- and my favorite video game of all time -- Phantasy Star. I clearly remember my first encounter with it: I was nine years old, wandering around in a toy store that was located at the local outlet mall. I turned an aisle, and then I saw it on a display shelf: a video game with a woman on the cover, battling alongside a wizard, a male warrior, and a creature that resembled a cat. I was immediately intrigued, and Ibegged asked my mother to buy me the game. She relented, and an obsession was born. (Actually, at the risk of sounding dramatically cliché, the game changed my life.)

While growing up as a bit of a tomboy, I became a gamer and still am to this day, but I've never had love for a game like I do for Phantasy Star. So, here's to Alis Landale, the original female video game protagonist, and to the video game which will forever remain my favorite.

Fan Art done by me, Phantasy Star and its characters (c) SEGA.
Anyway, a little backstory: 1989 was a memorable year in particular because of the discovery of Sega's epic video game -- and my favorite video game of all time -- Phantasy Star. I clearly remember my first encounter with it: I was nine years old, wandering around in a toy store that was located at the local outlet mall. I turned an aisle, and then I saw it on a display shelf: a video game with a woman on the cover, battling alongside a wizard, a male warrior, and a creature that resembled a cat. I was immediately intrigued, and I

Game cover of Phantasy Star. Photo from Wikipedia.
Played on the classic Sega Master System, the game proved to be revolutionary. It wasn't like After Burner or Hang On; it was unlike any other game. A blend of Greek Mythology, sci-fi, and fantasy, the story is set within the fictional solar system Algo, located in the Andromeda galaxy. A young woman, Alis, discovers that her brother Nero was murdered by Lassic, the evil reigning tyrant. Together with her companions (Odin, Lutz, and the super-intelligent Musk Cat, Myau), Alis sets out to avenge her brother's murder and overthrow the corrupt government. ('Sounds like heavy stuff for a kid, doesn't it!?) The game proved to be remarkable and inspirational for future RPGs, but Alis Landale was the original female video game protagonist who set the bar for the subsequent RPGs that followed.
The game had several sequels: Phantasy Star II, Phantasy Star III (which is sort of a departure from the series), and Phantasy Star IV. My personal favorites within the series are Phantasy Star and Phantasy Star IV; the latter really concluding the series with a satisfying ending. Sega released a remake of the first two games known as Phantasy Star Generation 1 and Phantasy Star Generation 2, but the games were released only in Japan (unfortunately). The remake of the music, however, is incredible; they're not changed and true to the original soundtrack, but enhanced.
The game had several sequels: Phantasy Star II, Phantasy Star III (which is sort of a departure from the series), and Phantasy Star IV. My personal favorites within the series are Phantasy Star and Phantasy Star IV; the latter really concluding the series with a satisfying ending. Sega released a remake of the first two games known as Phantasy Star Generation 1 and Phantasy Star Generation 2, but the games were released only in Japan (unfortunately). The remake of the music, however, is incredible; they're not changed and true to the original soundtrack, but enhanced.
While growing up as a bit of a tomboy, I became a gamer and still am to this day, but I've never had love for a game like I do for Phantasy Star. So, here's to Alis Landale, the original female video game protagonist, and to the video game which will forever remain my favorite.
Sunday, September 11, 2011
Gluten-free Huckleberry Pie
Aassddfgghhhjj!!!
*Freaking out over excitement here*
To my absolute delight, I scored a large quantity of Huckleberries!
Of the Vaccinium species, some of the more common varieties are found in the West. Historically and presently, the berries are a sacred food staple of Northwest Native Americans, and are celebrated by the Warm Springs Tribe. Needless to say, Huckleberries are my favorite wild berry, as they're juicy and delicious. While they make a prize jam, few things smell better in life than Huckleberry pie baking in the oven!
Ingredients:
6 cups huckleberries
1 1/2 cups pure cane sugar
1 tbs. Oregon wildflower honey
4 tbs. cornstarch
Note: I froze the huckleberries after washing them, so the addition of water isn't needed. If they're fresh, add about 1/4 cup of water.
Use an 8" gluten-free pie crust obtained from Whole Foods, or make your own with Bob's Red Mill gluten-free pie crust recipe.
Preparation:
Preheat oven to 350 degrees. Thaw frozen berries, and then mash when ready. Add the sugar, honey, and cornstarch to the mixture. Heat in a saucepan to a boil until mixture thickens. When it cools, add to pie crust. Add the top crust and pinch the sides to seal. Add a little milk to pie crust to aid browning of the crust. Bake at 350 degrees for about 50 minutes.
(Recipe adapted from "Huckeberry Pie" receipe with my own modifications, from Wild Berries of the West by Betty C. Derig and Margaret C. Fuller.)
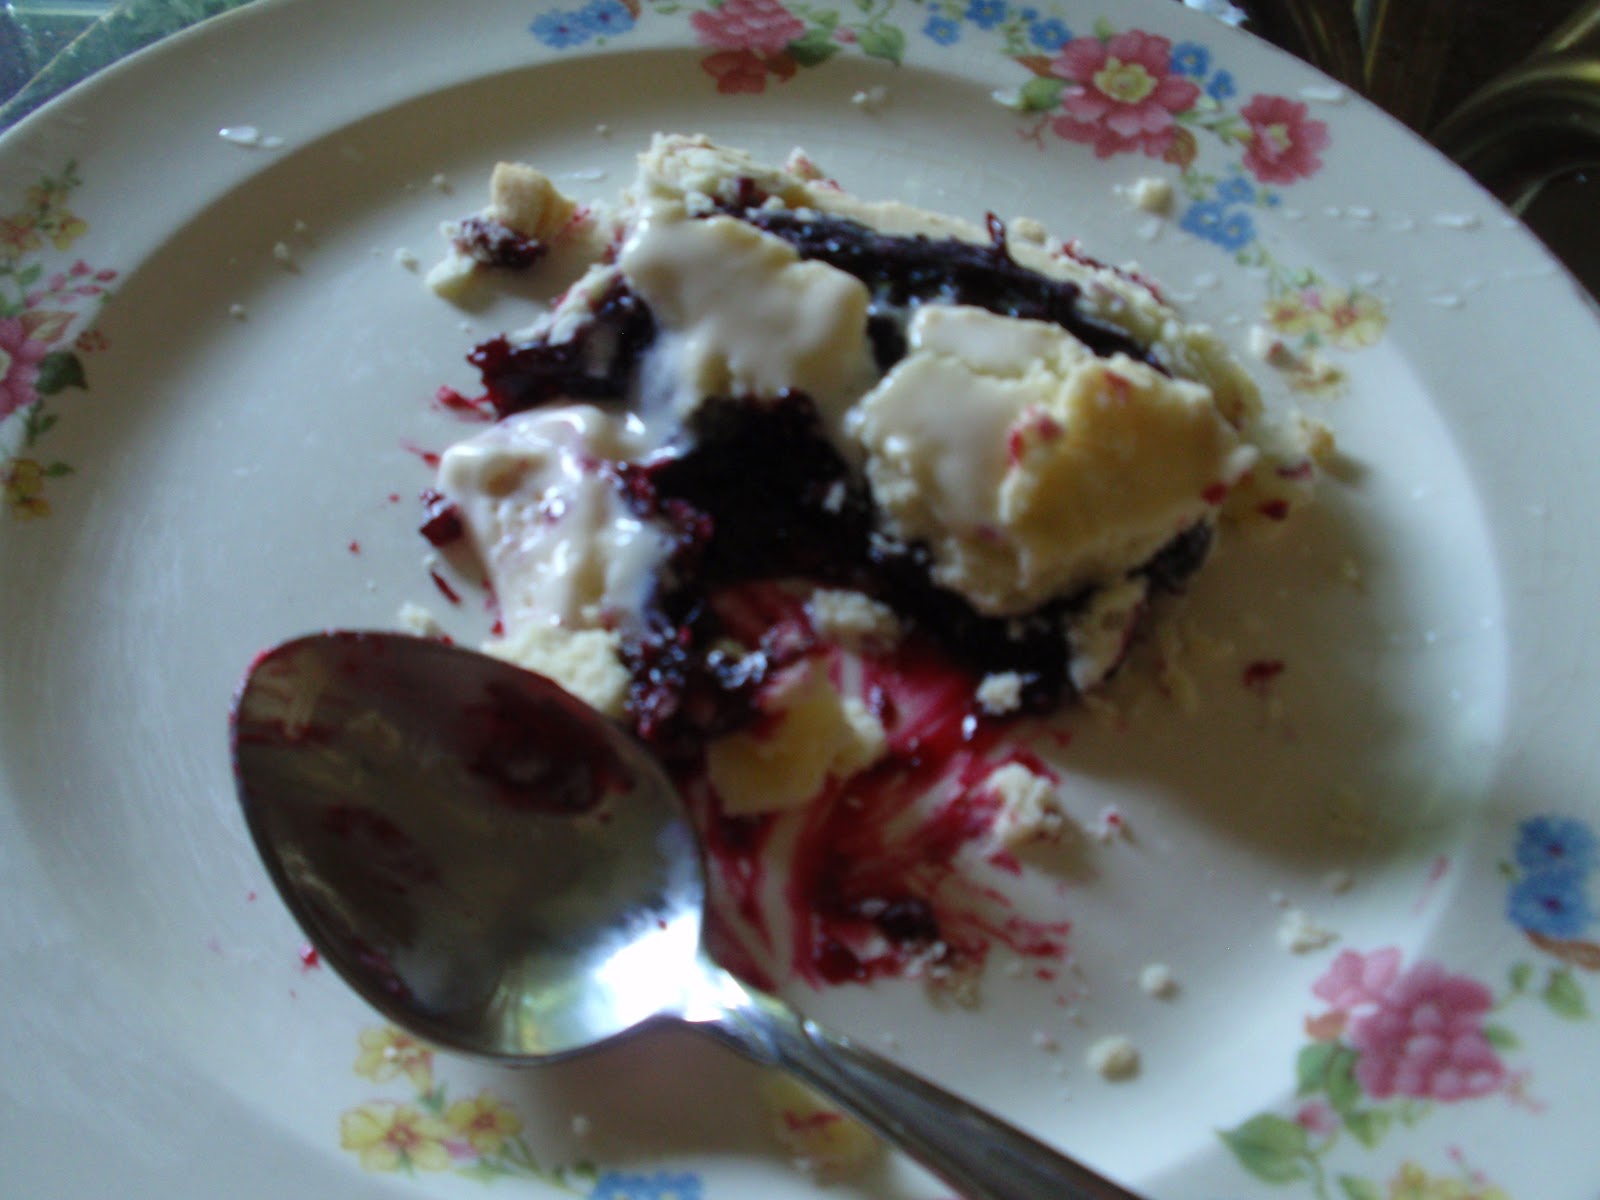
Partially consumed slice of the Huckleberry pie with ice cream.
I couldn't help myself and wait for a photo. Could you? ;)
Sunday, July 24, 2011
Foraging
Warning and disclaimer: Use common sense when messing with wild plants. Wild plants demand great respect and many are not edible. Never eat any wild plant or berries without 100 percent positive identification of edibility.
Like many other Portlanders, I have a great love for Mt. Hood, originally known as "Wy'East" by the Multnomah Native Americans. Back in my college days, I took a Geography of Mt. Hood course. The course was an adventure I'll never forget, and, since then, I've been fascinated by wild food sources. The stories of Lewis and Clark surviving on the food sources the Mt. Hood National Forest provided is especially cool to Oregonians.
But recently and unexpectedly, I had a pleasant surprise: I went on a local nature trek, and came across a path which led into a grove. The grove had a relatively clear path, and many different native plants were surrounding the area. After inspecting a particular berry bush, I was happy to realize the bush was a wild Thimbleberry bush; its berries not yet ripe. Near the Thimbleberry bush, however, was a Salmonberry bush, and its berries were ripe and juicy for eating. While the taste of Salmonberry has a more "relaxed" palate, Thimbleberry has an especially delicious taste. Furthermore, Thimbleberry is known to have medicinal properties. Unfortunately, the wild berries are seemingly scant.
I think there's something especially pleasurable about forging natural food sources. Foraging, I think, allows one to be in-tune with nature, and also, perhaps, able to be a little self-sufficient.

If interested, and for more information, please check out the books:
Wild Berries of the West by Betty B. Derig, Margaret Fuller, c2001
Like many other Portlanders, I have a great love for Mt. Hood, originally known as "Wy'East" by the Multnomah Native Americans. Back in my college days, I took a Geography of Mt. Hood course. The course was an adventure I'll never forget, and, since then, I've been fascinated by wild food sources. The stories of Lewis and Clark surviving on the food sources the Mt. Hood National Forest provided is especially cool to Oregonians.
But recently and unexpectedly, I had a pleasant surprise: I went on a local nature trek, and came across a path which led into a grove. The grove had a relatively clear path, and many different native plants were surrounding the area. After inspecting a particular berry bush, I was happy to realize the bush was a wild Thimbleberry bush; its berries not yet ripe. Near the Thimbleberry bush, however, was a Salmonberry bush, and its berries were ripe and juicy for eating. While the taste of Salmonberry has a more "relaxed" palate, Thimbleberry has an especially delicious taste. Furthermore, Thimbleberry is known to have medicinal properties. Unfortunately, the wild berries are seemingly scant.
I think there's something especially pleasurable about forging natural food sources. Foraging, I think, allows one to be in-tune with nature, and also, perhaps, able to be a little self-sufficient.
Rubus spectabilis (Salmonberry).
If interested, and for more information, please check out the books:
Wild Berries of the West by Betty B. Derig, Margaret Fuller, c2001
Edible and Medicinal Plants of the West by Gregory L. Tilford, c1997
Saturday, July 9, 2011
Calendula Solar Oil
I can’t wait until that bright light shines
Never did run, never did hide,
Waitin’ to see your bright light shine.
We’ll wait ‘til the mornin’ comes,
We’ll laugh as the sun.
Bright and loud, ha, ha, ha!
Rusted Root, "Laugh as the Sun"
My Calendula (Calendula officinalis), is now in bloom, and have added that touch of golden warmth to the garden. On that note, I made a Calendula solar infused oil today. Once ready, the oil is ideal to use as a natural anti-aging reform, and to clear your complexion. Awesome, eh?
It's quite easy to make your own. All it takes is snipping off Calendula flower heads, drying them, and then adding the flowers to a sterilized and dry jar. Immerse the flower heads in extra-virgin olive oil (or your favorite oil). I also like to add vitamin E to the infusion, but this isn't necessary. Place the jar outside in direct sunlight for several weeks. The sun will warm the contents and allow the Calendula to relase its medicinal chemicals, thereby creating an influsion. Strain and bottle when ready.

Calendula solar oil.
Sunday, June 26, 2011
Good bread this
Even Pullo would approve.

For those who are gluten-intolerant, improvisation is all you need when it comes to baking your own bread. Making your own gluten-free bread saves you a lot of money, not to mention it tends to taste MUCH better than regular white rice bread sold in specialty stores (which, honestly, doesn't taste very good). When baking your own bread, the key differences are ingredients, of course, and substituting any gluten products with replacements (such as Xanthan Gum, which is fascinating stuff). As biochemist/cook Shirley Corriher stated, baking and cooking is like chemistry as "it is essentially chemical reactions." It's quite fun to consider the science of such domestics.
Using a Breadman makes baking bread easier. Sure enough, I mix and combine the ingredients, but the machine does the kneading and baking for me. The other day I made my first loaf and it turned out great! Here is the recipe I used, courtesy of Bob's Red Mill:
"Our Favorite White Bread for Bread Machine" (Gluten-free!)
Liquid ingredients:
3 large eggs
1 tsp. Apple Cider Vinegar
1/4 cup Canola oil (Note: I used Smart Balance Omega, which is a blend of oils and it worked fine)
1 1/2 cups Water
Dry ingredients:
2 cups Bob's Red Mill White Rice Flour
1/2 Bob's Red Mill Potato Starch
1/2 cup Bob's Red Mill Tapioca Flour
1/3 cup Cornstarch Yeast
1 Tbsp. Xanthan Gum
3 Tbsp. Sugar
1 1/2 tsp. Salt
1 Tbsp. Egg Replacer, optional
2/3 cup Dry Milk
2 1/4 tsp. Active Dry
Combine liquid ingredients; pour carefully into baking pan. Measure dry ingredients; mix well to blend. Add to baking pan, carefully seat pan in breadmaker. Select NORMAL/WHITE cycle (I actually selected the GLUTEN-FREE option and it was perfect); start machine. After mixing action begins, help any unmixed ingredients into the dough with a rubber spatula, keeping to edges and top of batter to prevent interference with the paddle. Remove pan from the machine when bake cycle is complete. Invert pan and shake gently to remove bread. Cool upright on a rack before slicing.
And of course, if you want to bring on the herbs in making bread, check out this page. Mmmm... gaaaaarlic brrrreeeaaaad...
Wednesday, June 22, 2011
Drying herbs
I'm completely stoked that I have a new toy: a dehydrator! So far I've dried my own peppermint and basil, and it is awesome. Herbalists, gardeners, and other crafty people have wondered what the best method is to dry herbs, so, In lieu of my new toy, I'm going to discuss drying methods.
Air drying herbs is the most common -- and probably most green -- way of drying. It is also inexpensive and relatively easy. Most importantly, though, air drying herbs doesn't rob the herbs of their important essential oils. However, this method works best for less moist herbs, such as Rosemary and Thyme. Air drying consists of tying herbs together in a bundle of 4 to 6 stems, removing the lower leaves, and hanging upside down in a cool, dry, and dark place. Another air drying method involves bag drying, which is essentially air drying the bundle of herbs in paper bags. Likewise, the herbs are hung upside down, and holes are punctured into the paper bags to allow air to circulate.
Room drying herbs on a tray works best for large-leafed herbs with long stems, such as Basil. Use a screen window for this process; it allows the air to circulate. Place the herbs on the screens and stack them. Cover with paper towels or cheesecloth. Place in a proped, warm location, where air can circulate. Check the herbs the next day and turn them over so they will dry evenly.
Oven drying herbs consists of placing herbs on a cookie sheet and warming them for a few hours at approximately 180 degrees F. The oven door should be opened slightly to allow circulation. I personally do not recommend this method for drying herbs; it can "cook" the herbs a bit, which removes essential oils and flavors. Don't leave oven-drying herbs unattended!
Drying herbs with a dehydrator may be one of the best drying methods, particularly for moist herbs such as basil and mint. An added bonus to using a dehydrator is that your home is filled with an herbal scent! When I dried my peppermint, I was delighted by the aroma. If the herbs you wish to dry are from your own garden, you only need to inspect the herbs for dirt and bugs. Wash the herbs in hot water throughly and leave to air dry for a bit. Dehydrators come with an instructional booklet, so follow the book's instructions as to how to dry the particular herbs you wish to dry.
If you plan to wash your herbs, I don't recommend press-drying. It is a great method of drying flowers for science and plant identification classes, but in my experience it's not the best for herbs. Then again, I dried some of my own soapwort this way (which I washed previously) and the soapwort became moldy during the drying process. That said, whatever method you do choose to use, it's important to store your herbs well; be sure to store in an airtight bag to prevent molding. Discard any molded herbs. Place out of sunlight, in a cool, dark place.

Air dryed lavender. Photo (c) S. Waters
Friday, March 11, 2011
Cleaning with Herbal Vinegar
Vinegar is awesome stuff. Apple cider vinegar is good for the hair as a rinse (future blog post!), but I want to address a brilliant and eco-friendly usage of vinegar: It can be used to clean innumerable things! My dear Irish grandmother used it, for instance, with a bit of baking soda to clean the pipes in her house.
Instead of using harsh (and toxic) chemicals to clean your floors, countertops, or bathrooms, as well as discovering an even cheaper way to rather clean than buying the costly alternatives, there's herbal vinegar. Used solely, white distilled vinegar itself is a great cleaner, but the herbs make it better. It's a natural way to clean... and for hippies like me, it even makes the monotonous chore of cleaning f-u-n!
(A few words of caution, however: Don't add vinegar directly to materials containing ammonia, as it can create harmful vapors.)
To make herbal vingear, chop up about a handful of fresh herbs of your choice (lavender, lemon balm, peppermint, or basil, for instance) and steep in vingear (white distilled is the norm) for about five days, out of direct sunlight. Strain the infused vingear into a bottle, and voilà! You now have a natural, eco-friendly cleaner.
For more information, check out this website, and this one, too.
Sweet mint.
Subscribe to:
Posts (Atom)


